Hace unos días participé en taller del reconocido makeup artist Víctor Henao y La Riviera Colombia, donde nos enseñaron que “Tres minutos es lo que necesitas para verte bella”. Con tan solo seis técnicas aprendes a resaltar tu belleza. Hoy os comparto primeras tres técnicas:
A few days ago I took a part in the workshop of the renowned makeup artist Victor Henao and La Riviera Colombia, where we were taught that “three minutes is what you need to look beautiful”. With only six techniques we learn to look beautiful. Today I share first three techniques:
Kilka dni temu uczestniczyłam w warsztatach makijazu znanego wizażysty Victor Henao i sklepu La Riviera, w trakcie którego się nauczyłam, że “trzy minuty wystarcza by wyglądać pięknie”. Tylko sześć sztuczek jest potrzebnych by podkreślić swoje piękno. Dzisiaj podzielę się z Wami pierwszymi trzema technikami:
FACE / CARA / TWARZ:
1. BRILLO/ MATE INSTANTÁNEO – INSTANT GLOW/ MATTE
PRODUCTS:
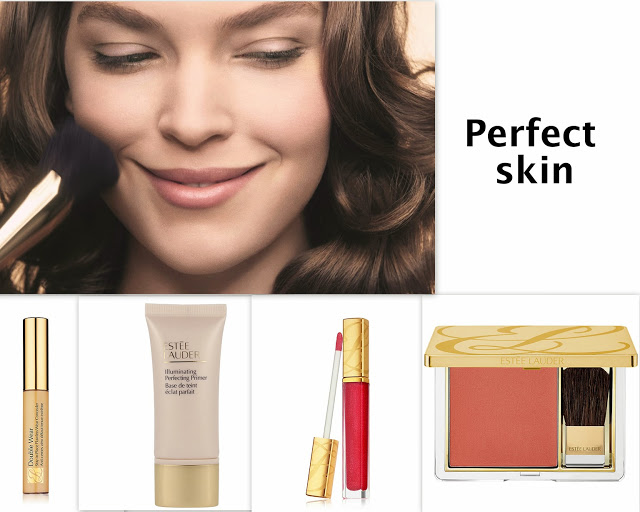
- Iluminating Perfecting Primer / Matte Perfecting Primer
- Double Wear Stay in Place Flawless Wear Concealer
- Pure Color Blush
- Pure Color Gloss
- Powder Foundation Blush
Pasos:
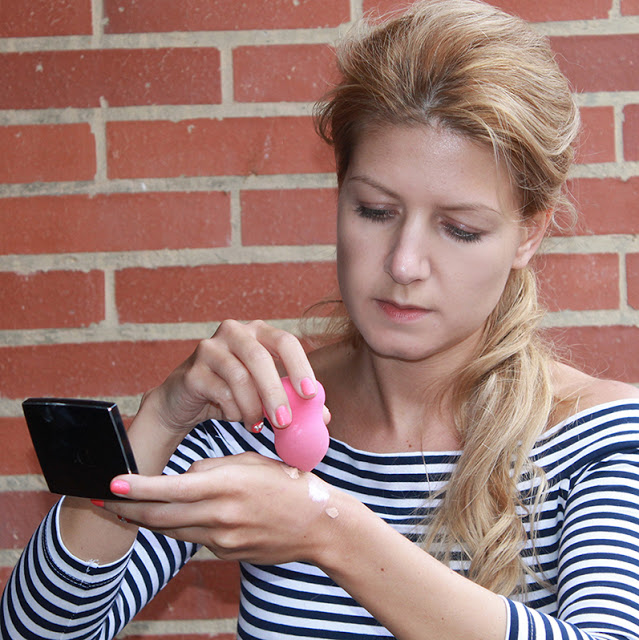
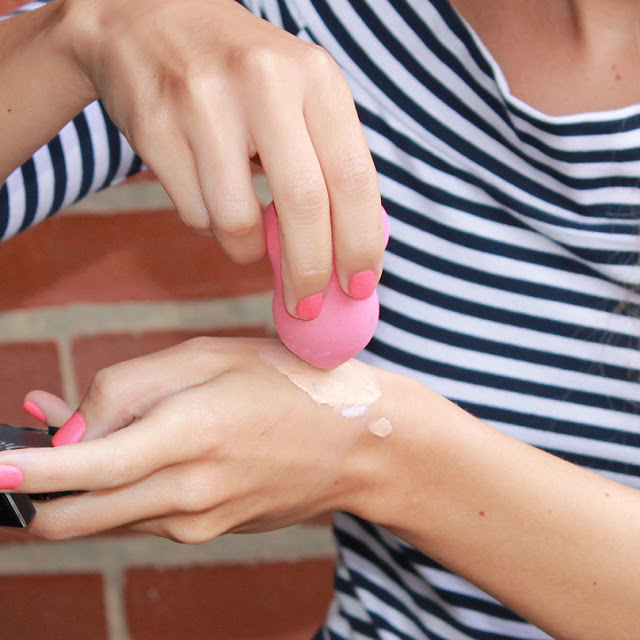
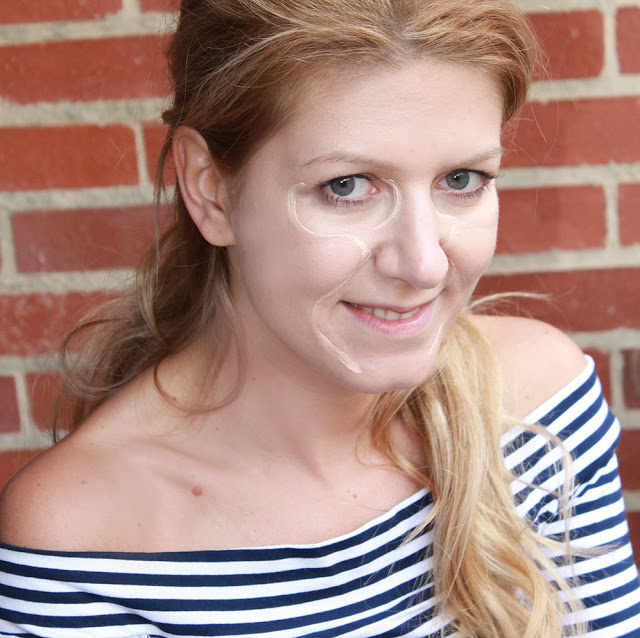
- Encima de la mano, mezcla una cantidad de un guisante de Iluminating Perfecting Primer con el concealer
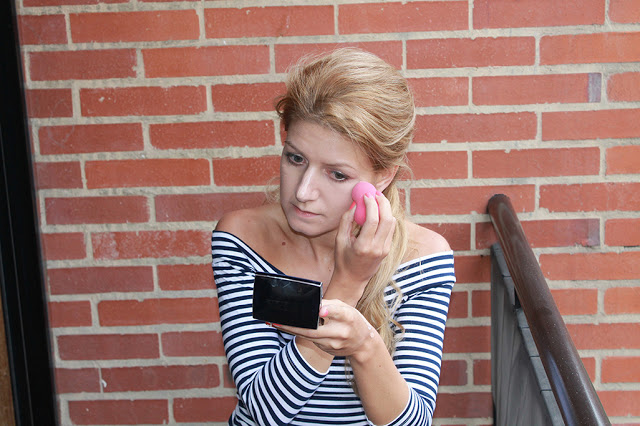
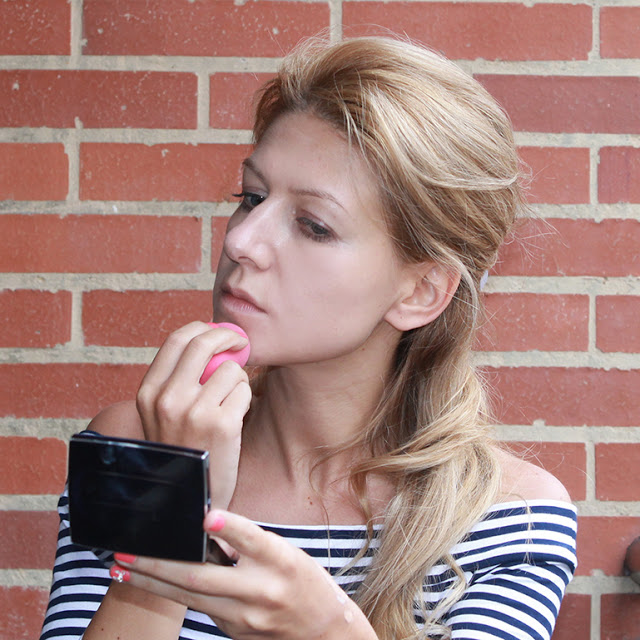
- Aplica la brocha para bases o una esponjita sobre la mezcla y, con un movimiento circular, aplique en todo el rostro.
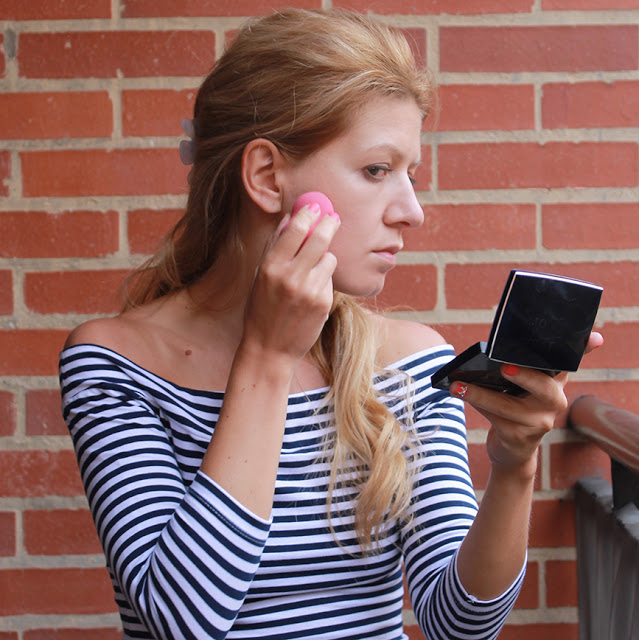
- Aplica otra pequeña cantidad de primer y mezcla con la esponja con el rubor Pure Color.
- Aplica la mezcla en las mejillas con un movimiento con toques suaves.
- Termina aplicando el brillo Pure Color en los labios
Steps:
- Blend a pea-sized amount of your chosen primer with a pea-sized amount of concealer on the back of your hand.
- Swirl a powder brush or sponge into the mixture, and, with the same swirling motion, buff all over.
- Next, use a makeup sponge to pickup a generous amount of blush, and mix it into another pea-sized dollop of primer on your hand.
- Gently tap the sponge onto the apples of your cheeks to make them bloom.
- Finish with lip gloss.
Krok po kroku:
- Na grzbiecie dłoni nalóz porcje wielkości groszku bazy do makijazu i korektora.
- Wymieszaj pędzlem lub gąbka do makijazu i okraglymi ruchami nalóz na buzie.
- Następnie użyj gąbki do makijażu aby wymieszac baze i obfitą ilość rózu.
- Delikatnie nalóz na kosci policzkowe.
- Calosc wykończ błyszczykiem.
2. MANCHAS XO / XO SPOTS
PRODUCTS:
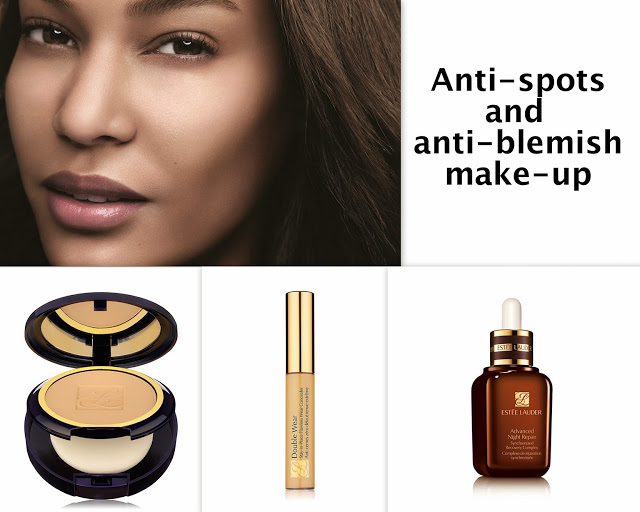
- Advanced Night Repair
- Double Wear Stay in Place Flawless Wear Concealer
- Double Wear Stay in Place Powder Makeup
Pasos:
- Hidrata primero tu imperfección problema con la brocha así el corrector cubre y se adhiere mejor.
- Utilice el corrector para marcar la mancha con una X. Dibuje una pequeña O alrededor de la mancha. Con la yema del dedo, aplique golpecitos suaves en losbordes exteriores de la X y la O y difumine hasta que se unifiquen perfectamente.
- Fije el corrector con polvo paraacabado, presionando suavemente sobrela mancha con una brocha para polvo.
Steps:
- Use a concealer brush to “kiss” a few drops of repair serum onto the offending spot, blemish, or discoloration. This not only benefits the skin, but keeps concealer from looking cakey. Give it a few seconds to absorb.
- Use your concealer to mark the spot with an X. Circle it with a small O. With your fingertip, lightly tap the outer edges of the X and O until they “hug,” blending perfectly together.
- Set the concealer in place with finishing powder, gently pressing it onto the spot with a powder brush.
Krok po kroku:
- Użyj pędzelka lub gabki do korektora aby nawilżyc twoja niedoskonałości /problem, pomoze Ci utrzymac korektor.
- Nastepnie użyj korektora, aby oznacz problematyczny punkt w formie X, zas naokoło narysuj małe O.
- Opuszkiem palca, lekko wklep zewnętrzne krawędzie X i O, tak aby sie ze sobą doskonale zmieszaly.
- Na koniec utrwal korektor sypkim pudrem, delikatnie uciskając pędzelkiem problematyczne miejsce.
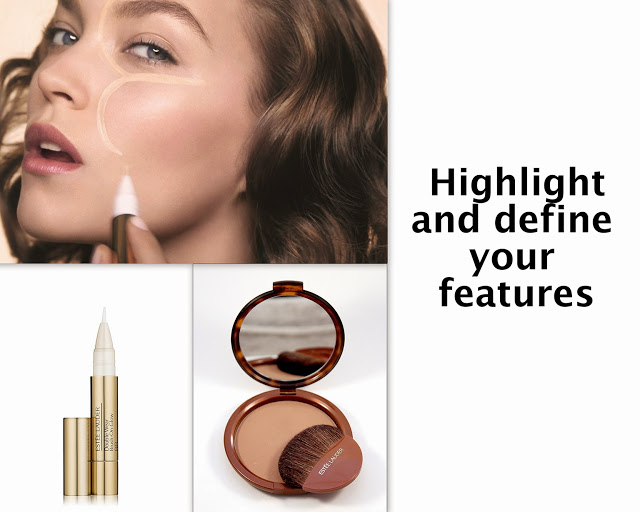
3. RESALTAR Y DEFINIR CONTORNO / HIGHLIGHT AND CONTOUR
PRODUCTS:
- Double Wear Brush on Glow BB
- Bronze Goddess Powder Bronzer
- Powder Brush
Pasos:
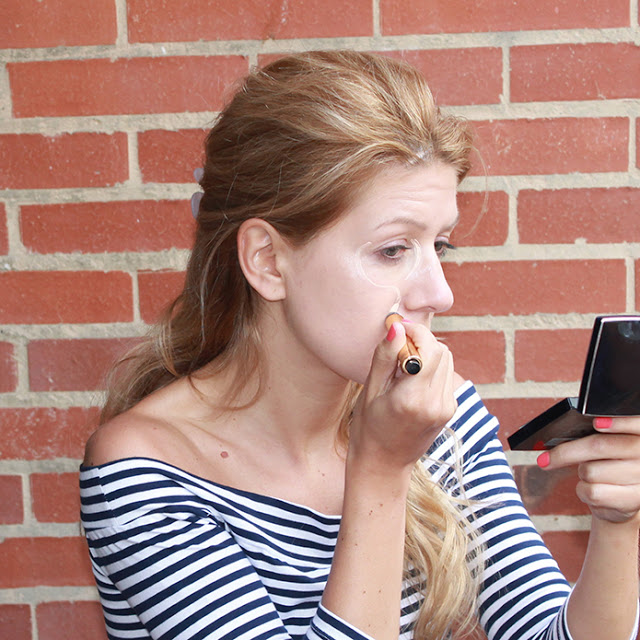
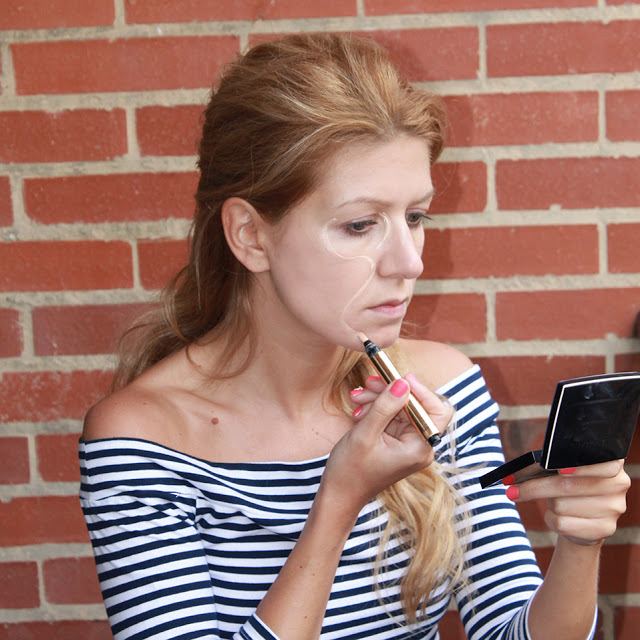
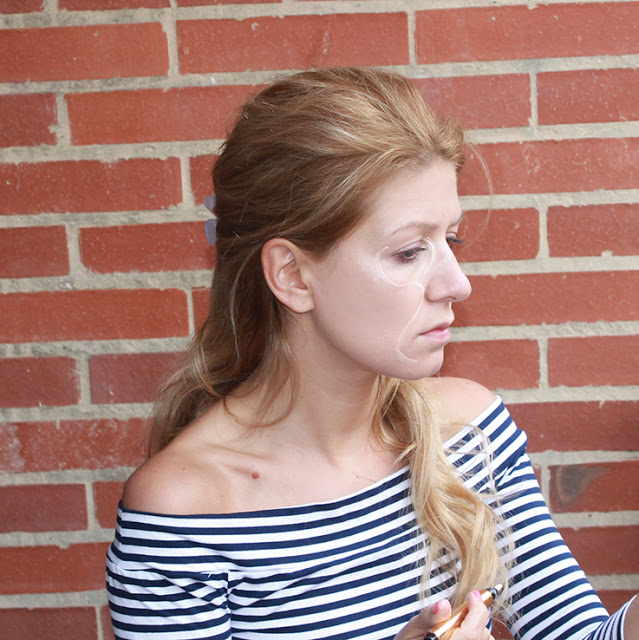
- Primero ilumine las áreas que te gustan. Use su corrector-iluminador para trazar una “E” hacia atrás en un lado de la cara, comience en las cejas hasta el ángulo interno. Deslice el lápiz por el interior del puente de la nariz para crear el primer arco de la “E” justo debajo del ojo. Luego trace la línea hacia la base de la nariz y por debajo de las mejillas para suavizar las líneas en la boca. Difumine bien con las yemas de los dedos.
- Cree contorno, escondiendo lo que no te gusta. Aplique bronceador formando una “E” desde arriba de la ceja hasta el cabello, y baje hacia la cien, por debajo de las mejillas ya lo largo de la mandíbula.
- Repita los mismos pasos en el otro lado de la cara.
Steps:
- First, create highlights of the parts that you like. Use your brush-on illuminator to trace a backward “E” on one side of your face, starting above the brow at the innercorner. Glide the pen along the inside bridge of the nose to create the first arc of the “E” just below the eye. Then bring the line back in toward the base of the nose and out underneath cheeks to soften lines around the mouth. Blend well with fingertips.
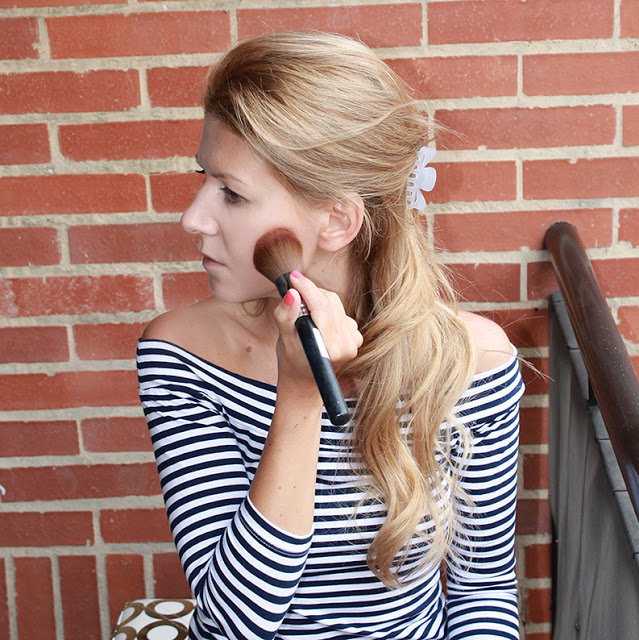
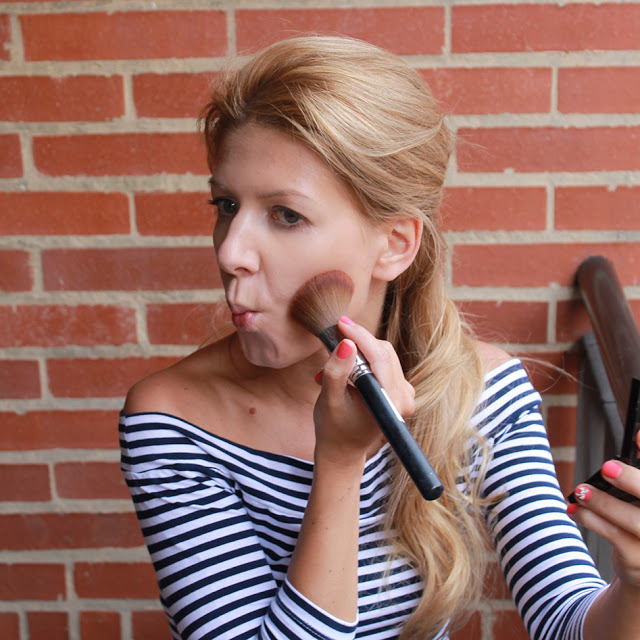
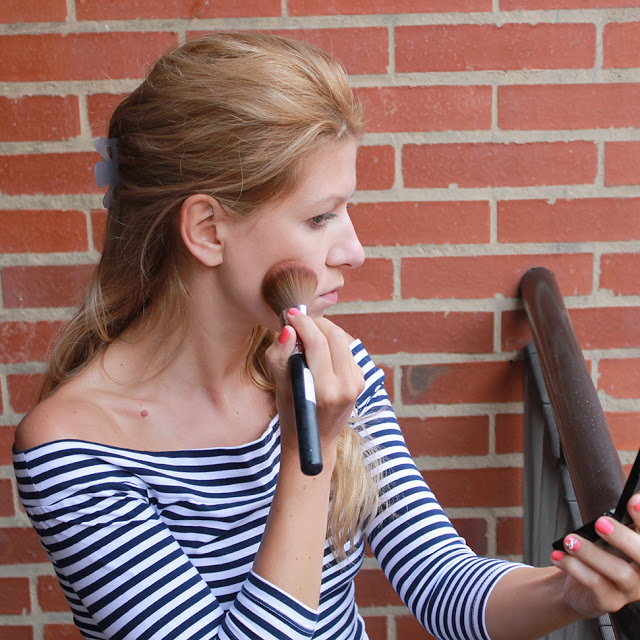
- Next, create contours and hide what you would like to change. Dust bronzer in a forward “E” from above the brow to the hairline, down along the temple, below cheekbones, and along the jawline.
- Repeat same steps on the opposite side of your face.
Krok po kroku:
- Najpierw rozświetlamy te czesci twarzy, które chcemy podkreslic. W tym celu uzywamy korektora rozświetlajacego ze szczoteczka i rysujemy “E” na odwrót z kazdej strony twarzy. Począwszy od brwi, pod okiem, nastepnie wzdłuż nasady nosa, tworzac pierwszy łuk “E”. Następnie poprowadz linię do pod nosem i u dolu policzków, aby zmiękczyć linie wokół ust. Rozprowadz i wklep przy pomocy palców, ich cieplo rozpusci korektor.
- Teraz kolej na konturowanie. W tym celu uzyjemy pudru bronzujacego, który nakladamy w formie litery “E”. Zaczynamy nad brwia i prowadzimy pedzel do linii włosów, nastepnie poniżej kości policzkowych i wzdłuż szczęki.
- Powtórz te same czynności po przeciwnej stronie twarzy.
Photos: Aga’s suitcase and Estee Lauder

